How to Use OXVA Xlim 3 Ultra (Setup, Lock and Reset Guide)


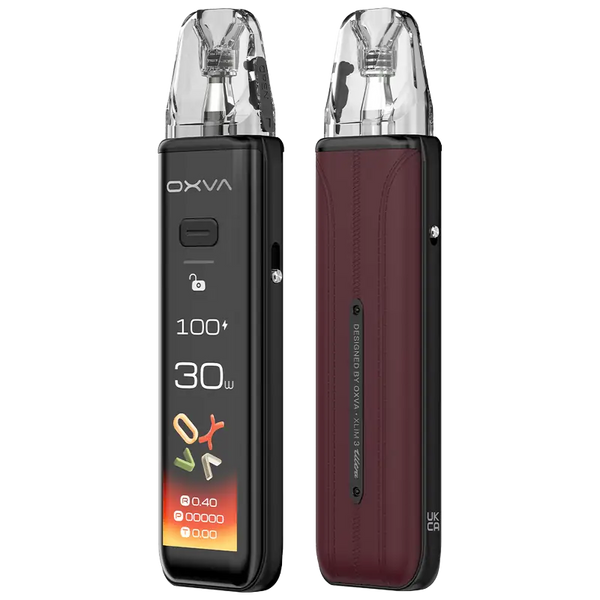
The OXVA Xlim 3 Ultra is the flagship device in the OXVA range, and it shows. A 2.2 inch full HD touch screen, 1500mAh battery, One Super Pulse chip, and compatibility with the full Xlim pod family make it the most feature-rich Xlim kit available. If you have come from a simpler device or are new to OXVA entirely, this guide covers everything from turning it on for the first time through to locking, unlocking, and resetting the device.
If you have been searching for the OXVA Xlim Pro 3, it is worth noting that the Xlim 3 Ultra is the current flagship Xlim device. The guide below covers everything you need.
- What Is in the Box
- How to Turn On and Off the OXVA Xlim 3 Ultra
- How to Set Up the OXVA Xlim 3 Ultra for the First Time
- How the Touch Screen Works
- How to Lock and Unlock the OXVA Xlim 3 Ultra
- How to Adjust Wattage on the OXVA Xlim 3 Ultra
- How to Reset the Puff Counter on the OXVA Xlim 3 Ultra
- How to Reset the OXVA Xlim 3 Ultra
- How to Charge the OXVA Xlim 3 Ultra
- Shop the OXVA Xlim 3 Ultra at Vaping 101
- Quick Comparison
- Frequently Asked Questions
What Is in the Box
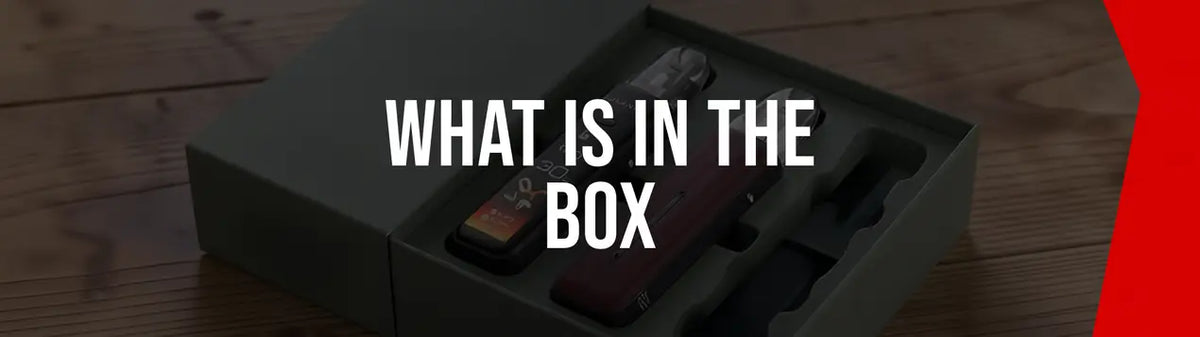
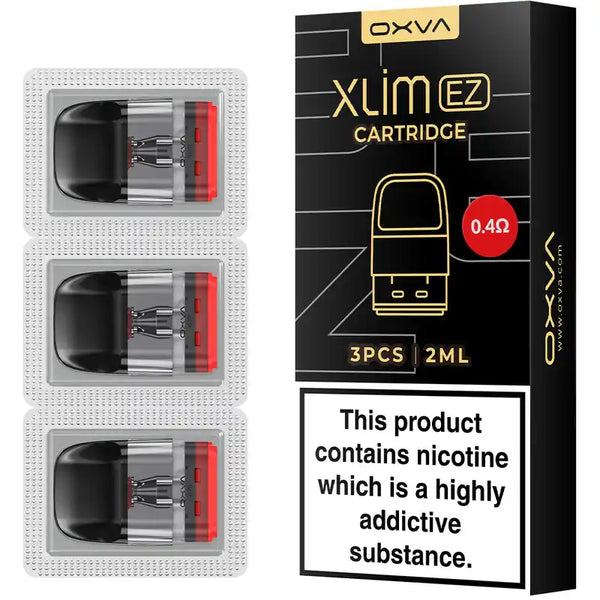
The OXVA Xlim 3 Ultra kit comes with the device, two pods (typically a 0.6ohm and 1.2ohm), a USB-C charging cable, and documentation. The device is compatible with the full range of Xlim EZ pods in 0.4ohm, 0.6ohm, 0.8ohm, and 1.2ohm, as well as Xlim V3 pods, giving you a wide range of resistance options to suit different vaping styles. Note that Xlim C pods are not compatible with this device.

How to Turn On and Off the OXVA Xlim 3 Ultra
Turning the device on and off is done through five rapid presses of the fire button. Press the fire button five times in quick succession within two seconds and the 2.2 inch touch screen will light up, confirming the device is powered on. Repeat the same five clicks to turn the device off completely. When powered off, the device will not fire even if the auto-draw sensor is triggered.
How to Set Up the OXVA Xlim 3 Ultra for the First Time
Setup guideBefore your first vape, it is worth taking a few minutes to set the device up correctly:
Charge the battery first. Connect the USB-C cable to the port at the base of the device and charge fully before inserting a pod. The OXVA Xlim 3 Ultra supports 5V/2A fast charging, so a full charge is straightforward.
Choose your pod. For a tighter MTL draw, start with a 1.2ohm pod. For a more open RDL draw, the 0.6ohm or 0.4ohm pods are better suited.
Fill the pod before inserting it. Open the top-fill port, fill slowly with your chosen e-liquid to just below the maximum fill line, and close the fill cap firmly.
Prime the coil. Leave the filled pod to sit for five minutes before inserting it into the device. This saturates the mesh coil and prevents a harsh or burnt first draw.
Insert the pod. Slide the pod into the device until it is securely seated.
Power on the device with five rapid fire button clicks.
Check the wattage on the touch screen and adjust if needed before taking your first puff.

How the Touch Screen Works
The 2.2 inch HD touch screen is what sets the OXVA Xlim 3 Ultra apart from every other device in the Xlim range. It operates like a smartphone display, with swipe and tap navigation giving you access to wattage settings, battery level, puff count, coil resistance, and device settings without needing to memorise button combinations for most functions. Two clicks of the fire button opens the secondary menu for quick access to settings. The display is bright enough to read in direct sunlight, which is a practical improvement over the smaller screens on earlier Xlim devices.

How to Lock and Unlock the OXVA Xlim 3 Ultra
Locking the Xlim 3 Ultra disables the fire button and prevents accidental activation while the device is in a pocket or bag. The auto-draw function continues to operate when the device is locked, so you can still vape by inhaling if needed.
- To lock: press the fire button four times rapidly within two seconds. The touch screen will display a lock icon confirming the device is locked and the fire button will not respond to presses.
- To unlock: press the fire button four times rapidly again within two seconds. The lock icon will disappear and the fire button returns to normal operation.
If you press the fire button and nothing happens, checking the lock status is always the first thing to do before assuming a fault.

How to Adjust Wattage on the OXVA Xlim 3 Ultra
The Xlim 3 Ultra uses the OXVA One Super Pulse chip, which automatically sets an optimal wattage when a pod is inserted based on the coil resistance. You do not need to manually configure the output every time you change pods.
To adjust wattage manually, use the touch screen to navigate to the wattage setting and tap up or down to change the output. The device operates between 5W and 30W. As a starting guide, the 1.2ohm pod performs best between 10W and 18W for a tight MTL draw, while the 0.6ohm pod suits a wattage range of 18W to 25W for a more open RDL style.
Airflow can be adjusted independently using the slider on the side of the device. Opening the airflow wider suits lower resistance pods and RDL vaping, while tightening it works better with higher resistance pods for a more restricted draw.

How to Reset the Puff Counter on the OXVA Xlim 3 Ultra
The OXVA Xlim 3 Ultra tracks your puff count on the display. To reset the counter, press the fire button twice to open the secondary menu, then navigate to the puff reset option on the touch screen and confirm. The counter will return to zero. Resetting the puff count when installing a new pod gives you an accurate per-pod figure rather than a cumulative total.

How to Reset the OXVA Xlim 3 Ultra
For a full device reset, navigate to the settings menu via the touch screen. A factory reset option is available within the settings that will restore the device to its default wattage and display settings. This is useful if the wattage has been adjusted to an unusual setting or the display configuration needs returning to default. Powering the device off and back on using the five-click method will also clear minor display glitches without affecting saved settings.
How to Charge the OXVA Xlim 3 Ultra
Charging is straightforward. Connect the USB-C cable to the port at the base of the device and plug into a mains adapter or laptop. The touch screen will show the battery level increasing during charging. The 1500mAh battery supports 5V/2A fast charging, and most vapers find the device charges in well under an hour from low. Do not leave the device charging unattended for extended periods.
Shop the OXVA Xlim 3 Ultra at Vaping 101
The OXVA Xlim 3 Ultra pod kit is available at Vaping 101 alongside the full range of compatible OXVA Xlim EZ pods and Xlim V3 pods. Browse the complete OXVA collection for the full range of kits, pods, and accessories.
OXVA Xlim EZ Pods
Quick Comparison
| Product / feature | What it is | Best for | Format | Device detail | Shop |
|---|---|---|---|---|---|
| OXVA Xlim 3 Ultra | Flagship touch screen Xlim pod kit | Feature-rich MTL and RDL vaping | Device kit | 1500mAh / 5W to 30W | Xlim 3 Ultra |
| OXVA Xlim EZ Pods | Compatible replacement pods | Changing resistance and draw style | Refillable pods | 0.4ohm to 1.2ohm | Xlim EZ pods |
| OXVA Xlim Pro 3 | Related Xlim search term | Vapers comparing Xlim devices | Device kit | Xlim range | Xlim Pro 3 |
| OXVA | Full OXVA collection | Browsing OXVA kits, pods and accessories | Kits and pods | OXVA range | OXVA |
Frequently Asked Questions
Press the fire button five times in quick succession within two seconds. The 2.2 inch touch screen will light up, confirming the device is powered on. Repeat the same five clicks to turn it off.
Charge the battery, choose your pod, fill the pod before inserting it, let the coil prime for five minutes, insert the pod, power on the device with five clicks, then check the wattage on the touch screen before vaping.
Press the fire button four times rapidly within two seconds to lock the device. Press the fire button four times rapidly again to unlock it. The auto-draw function continues to operate when locked.
The OXVA Xlim 3 Ultra is compatible with Xlim EZ pods in 0.4ohm, 0.6ohm, 0.8ohm, and 1.2ohm, as well as Xlim V3 pods. Xlim C pods are not compatible.
The OXVA Xlim 3 Ultra pod kit is available at Vaping 101 alongside compatible OXVA Xlim EZ pods and the complete OXVA collection.